How to (Safely) Remove Your Acrylic Nails at Home
It's actually quite easy.

If you're obsessed with your nails, then you know there’s nothing as satisfying as walking out of a salon with a fresh set of acrylics painted in a trendy spring polish color. But after a few weeks with those long and sturdy tips, they start to lift, chip, or break. If you can't make it to the salon, learning to remove acrylic nails at home is key to keeping your nails healthy.
"It's important to remove acrylics in a proper way by soaking versus breaking them off yourself and tearing them away from your natural nail, which in turn can damage your nails," explains LeChat Nails educator Syreeta Aaron. "When you choose to tear off the acrylics from the natural nail, you are tearing extra layers off the nail."
The more layers that are removed, the more damage there will be. "Nails are composed of hard keratin, which is technically what skin is made from," explains Aaron, adding that "to tear off extra layers would be like tearing off extra skin."
Although you should ideally seek out a qualified nail tech to remove your acrylics safely, you can do it at home...as long as you have the proper tools. Read on for DIY advice on how to remove acrylic nails from an array of experts.
How to Remove Acrylic Nails At Home
Step 1: Cut Off Your Nail Extensions
Start by using an acrylic nail clipper to trim any of the nail extensions and their acrylic coatings that extend past the length of your natural nails. Clipping off the excess product helps to expedite the removal process.
Step 2: File Down the Top Layer of Acrylic
Using a 100-grit coarse nail file, begin to file down the acrylic coating to thin it out and scratch up the surface a bit. The scratches that the file creates on the acrylic are important because they act as channels to help the acetone you apply absorb faster.
Whatever you do, steer clear of harsh chemicals such as methyl methacrylate (MMA) during the acrylic application process. "In order to remove this unsafe acrylic, you would need to rough up the nail bed, causing permanent damage to the natural nail,” Julie Kandalec, CEO of Master Class Nail Academy, explains.
Stay In The Know
Get exclusive access to fashion and beauty trends, hot-off-the-press celebrity news, and more.
Step 3: Apply Cuticle Oil
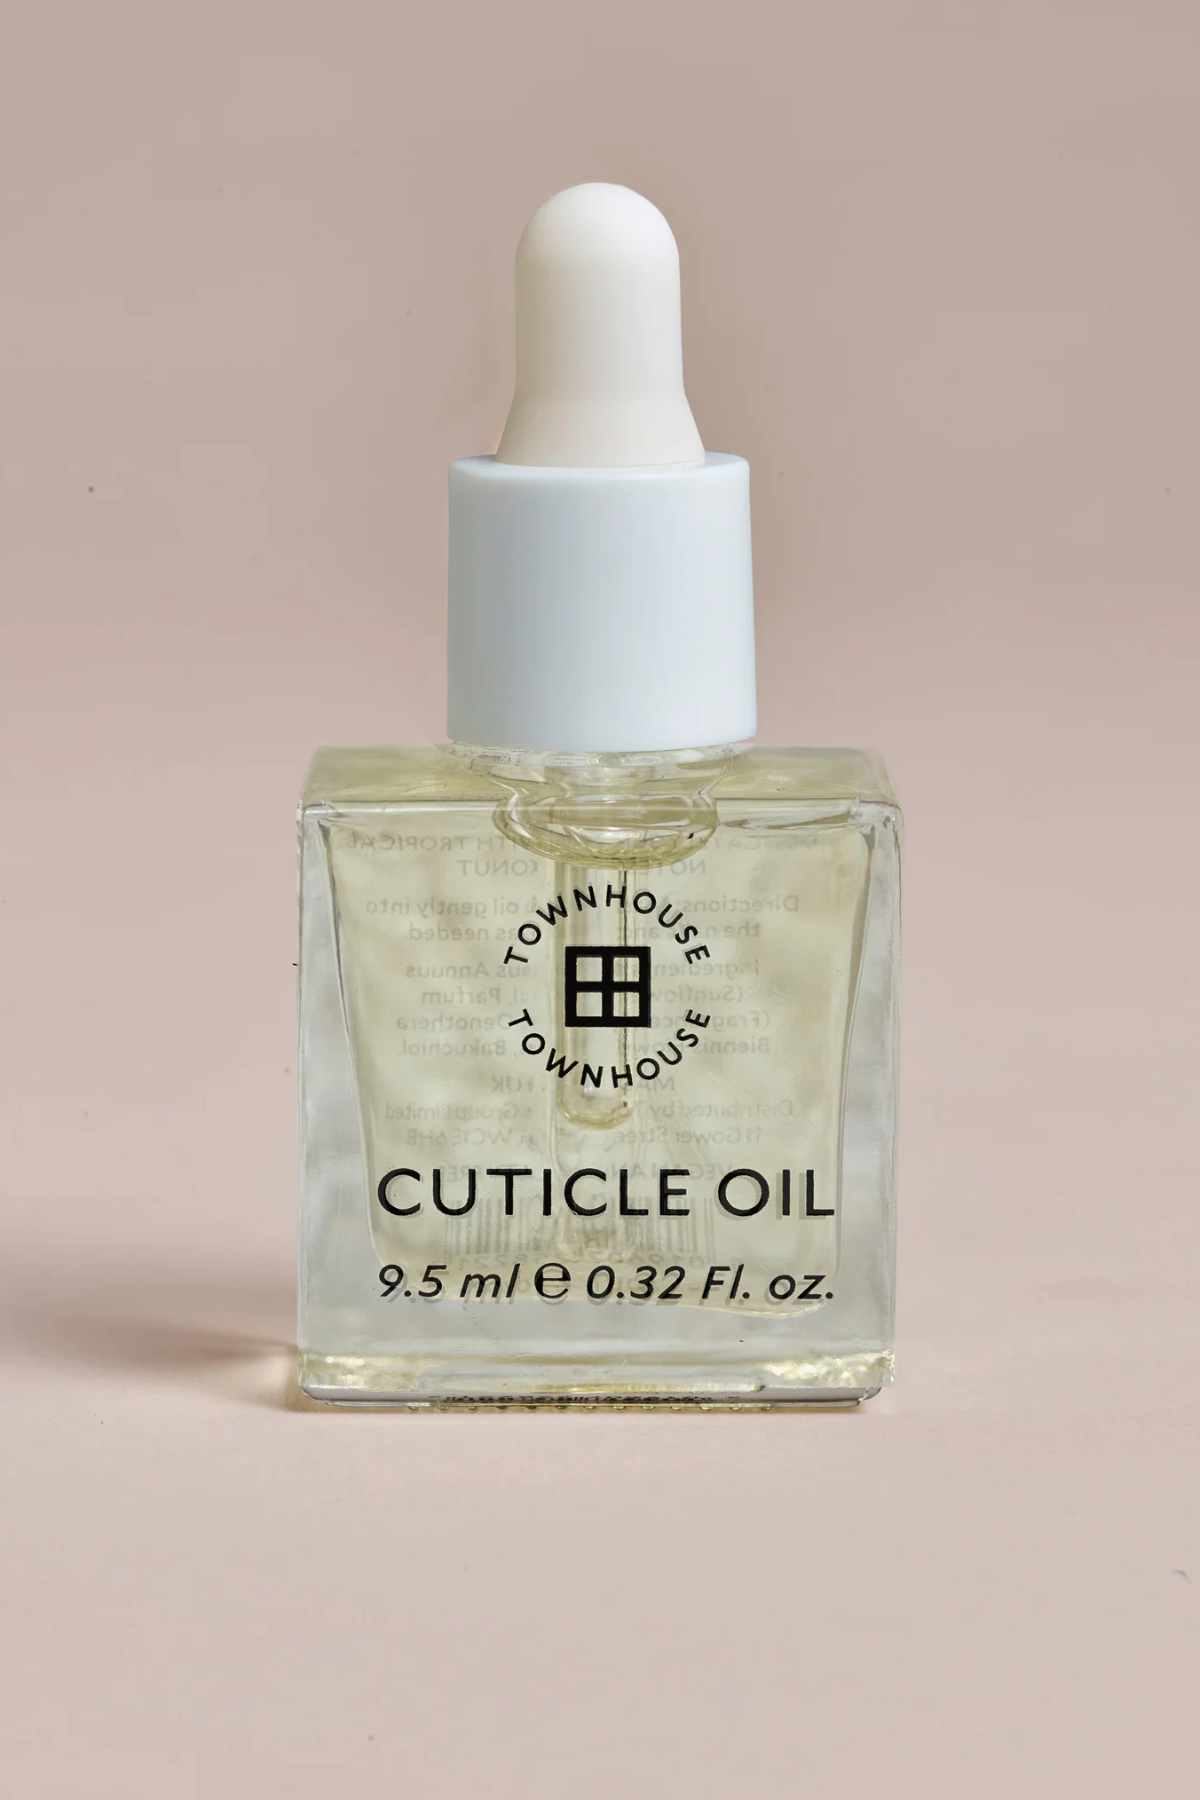
Before you soak off the acrylic layer of your nails, you need to hydrate, hydrate, hydrate. “Acetone remover is extremely drying so you want to be sure to apply cuticle oil around the perimeter of the nail, on cuticles, and even under the nail on to your fingertips,” Kandalec says.
Step 4: Soak Off the Acrylic
Aaron recommends first determining whether you have regular polish or gel on top of the acrylics. "If you have regular polish you can begin the soaking process right away. If you have gel polish on top of the acrylic, you must first break the top layer or top coat of gel polish, and then you may begin to soak," she explains.
Drench a cotton ball in 100 percent pure acetone, place the cotton onto the surface of nail, and wrap each nail in foil. Wrapping the nail in foil serves two purposes: “It prevents the acetone from evaporating quickly while retaining your body heat, causing the acetone to work even faster,” explains Kandalec. Be sure to let each nail remain wrapped for at least 20 minutes to allow the acetone acrylic to break the material down fully.
Aaron offers an additional tip if you're not immediately getting another mani. Soak with 100 percent acetone mixed with a few drops of cuticle oil like LeChat CBD Cuticle Oil, which will help replenish the nail as you remove the polish.
Step 5: Gently Scrape Away Acrylic
Unwrap and work on one nail at a time, so the other nails remain wrapped as long as possible. “After unwrapping, check to make sure the acrylic has a soft and gummy consistency,” says celebrity nail artist Vanessa McCullough.
If it does, take a wooden stick cuticle pusher and gently scrape off the softened acrylic, working from the area closest to the cuticle outward toward the tip of the nail. If the acrylic isn’t coming off easily, don’t pry it. Instead, place the acetone-soaked cotton back on the nail, then re-wrap the nail for a few more minutes.
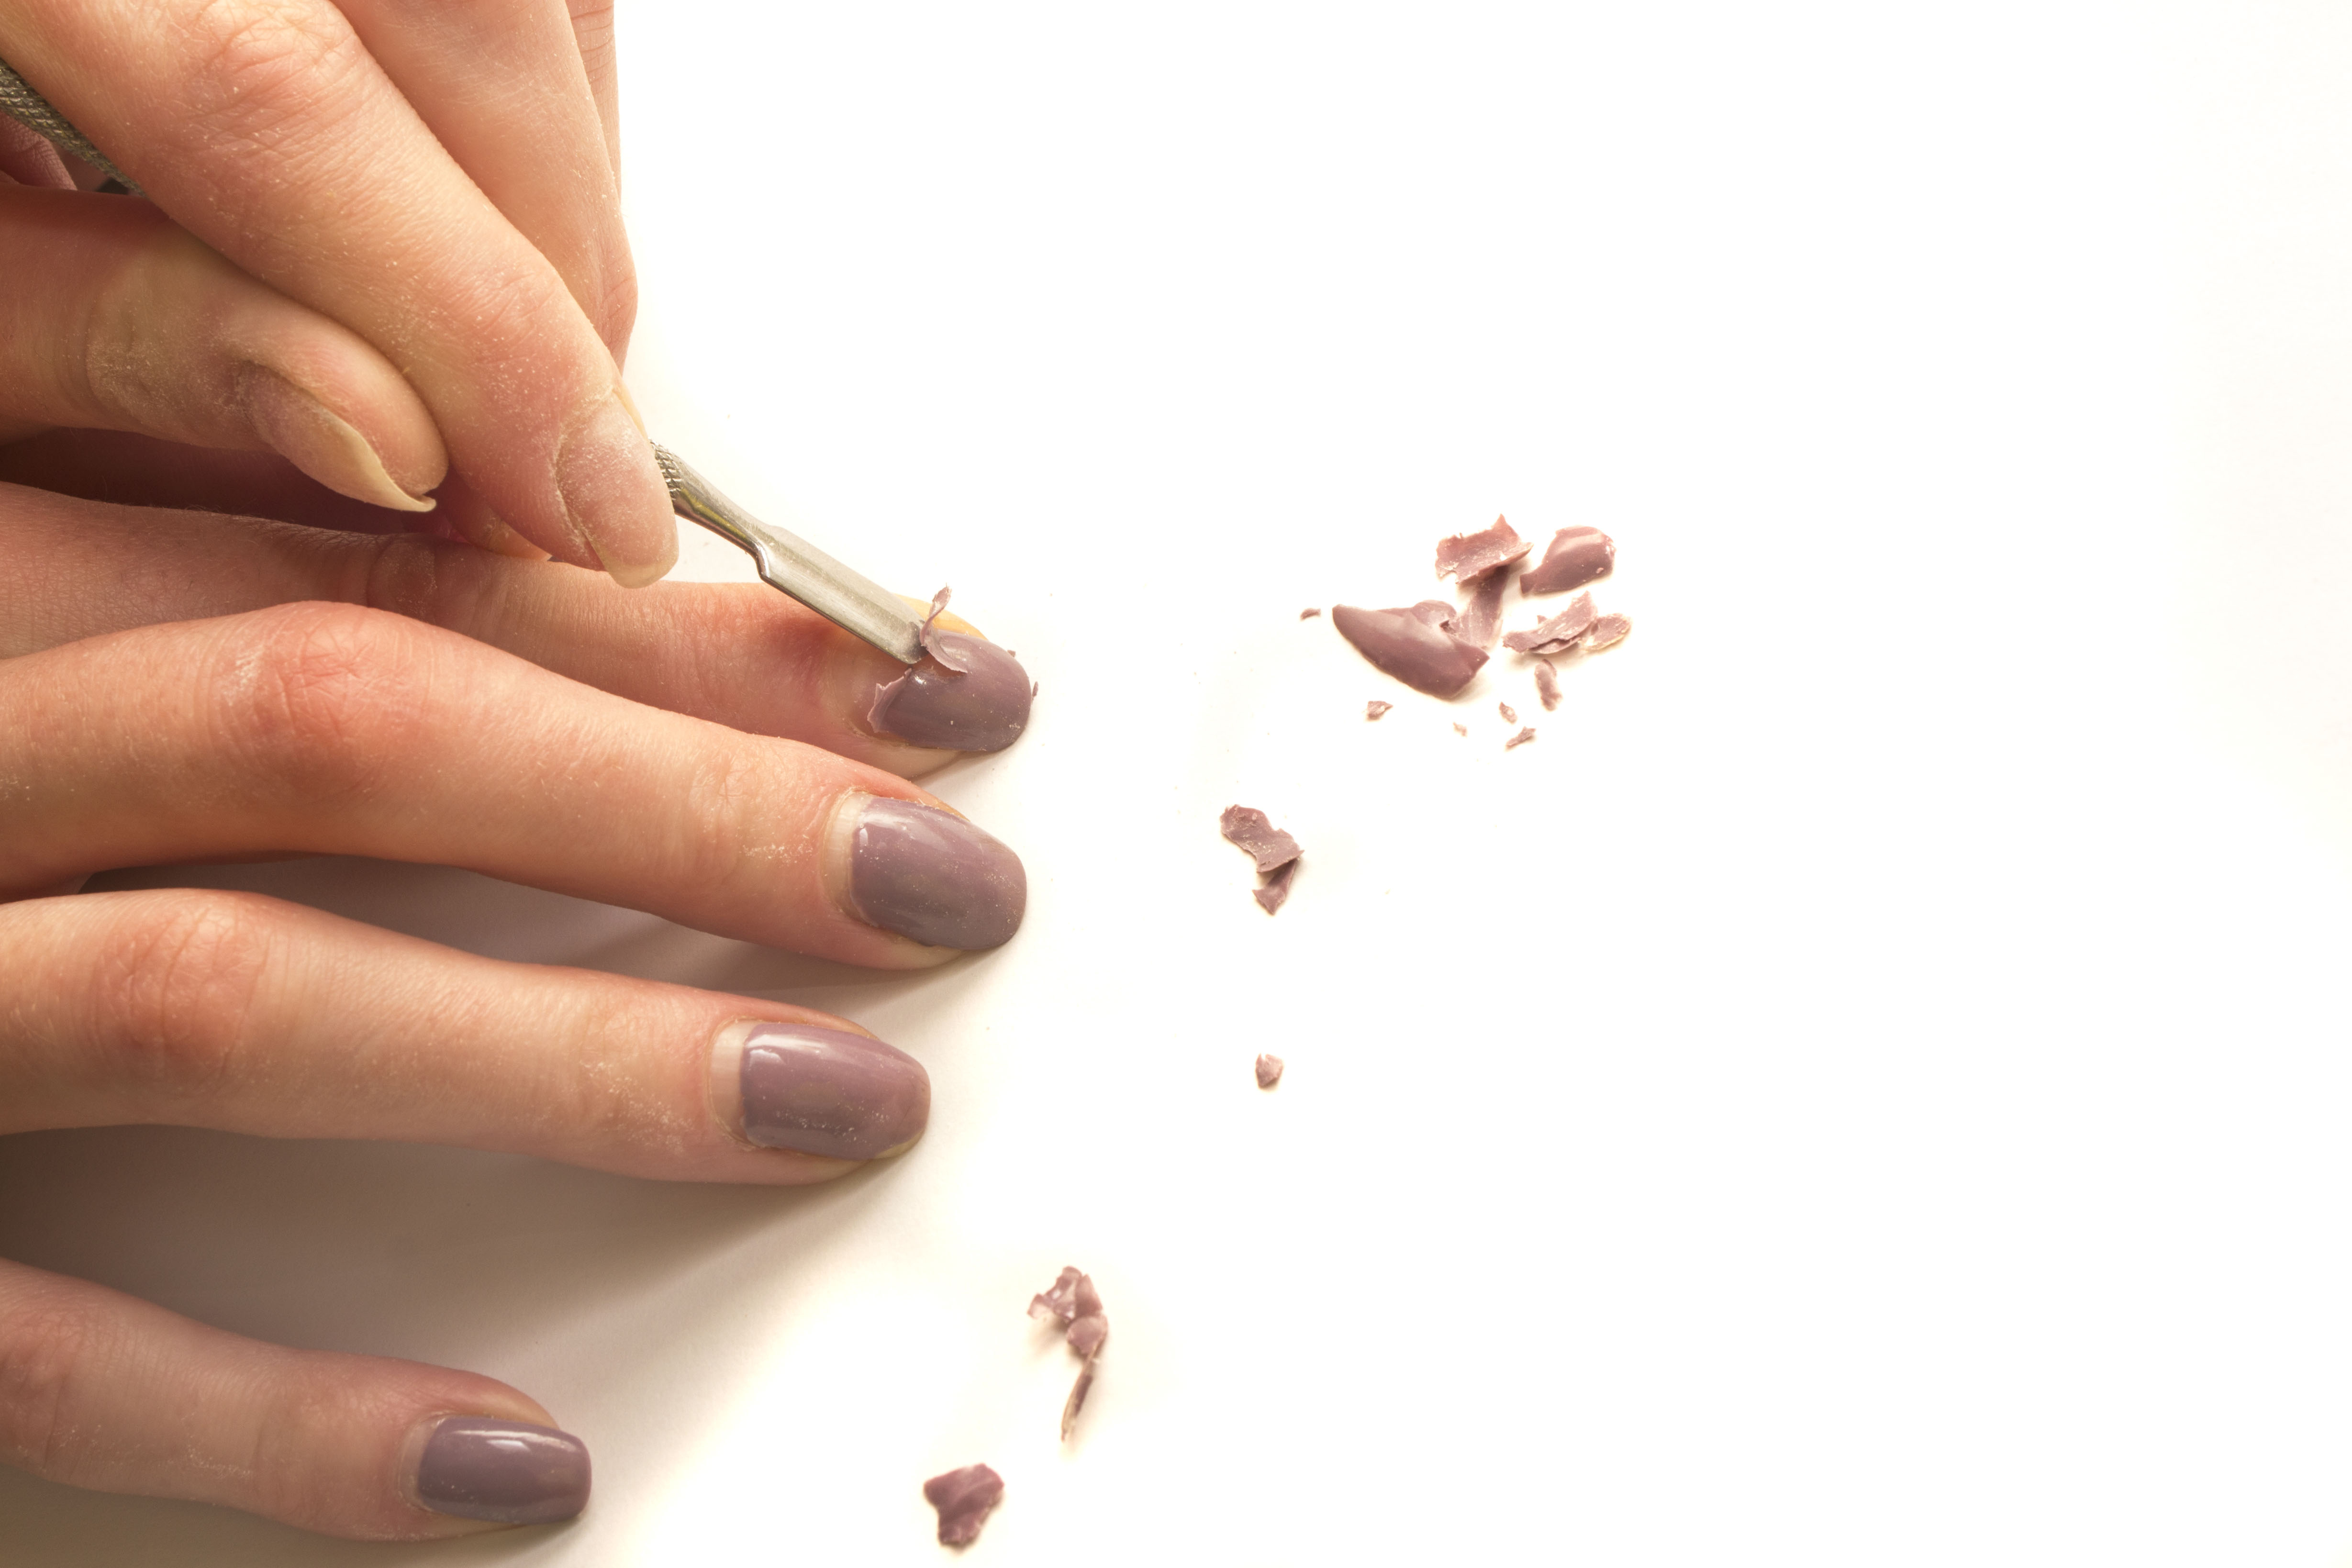
A wooden stick cuticle pusher is ideal for gel removal, but if you use a metal tool, be very gentle.
Step 6: Buff Off Remaining Acrylic
No matter how carefully you remove the acrylic, stubborn spots may remain on the nail bed. If there are any remnants left behind, use a multi-sided buffer to buff away the last bits until your nail bed is clean and smooth.
Step 7: Hydrate, Hydrate, Hydrate
Apply a final layer of cuticle oil to rehydrate the nail. If you don’t plan on getting a new acrylic set immediately, finish with a keratin-based nail treatment, like CND RescueRXx.
“Your nails are made out of keratin, so this nail treatment actually absorbs into the layers of the nail plate to make the nail strong and healthy,” says McCullough.
Is It Safe to Remove Acrylics Nails At Home?
Yes, you can remove acrylic nails at home—as long as you have the proper tools.
"We recommend having a nail clipper, both an acrylic and natural nail file, and acetone. With these tools, you can clip the excess nail off if they’re really long, file down the top layer of the acrylic, and then soak the nails in acetone," recaps Michelle Nguyen, founder of Paris Lash Academy and PLA Nails. "You’ll likely have to soak them for a while, and then you can start scraping and filing the acrylic off."
When Should Acrylic Nails Be Removed?
I know, I know—we've all "accidentally" seen how long we can make an acrylic set last. But that's not what our nails want.
"Acrylics can theoretically last between six to eight weeks, but that doesn’t mean you should leave them on that long," explains Nguyen. "To keep up with nail growth, you should get your acrylics redone or removed after two to three weeks."
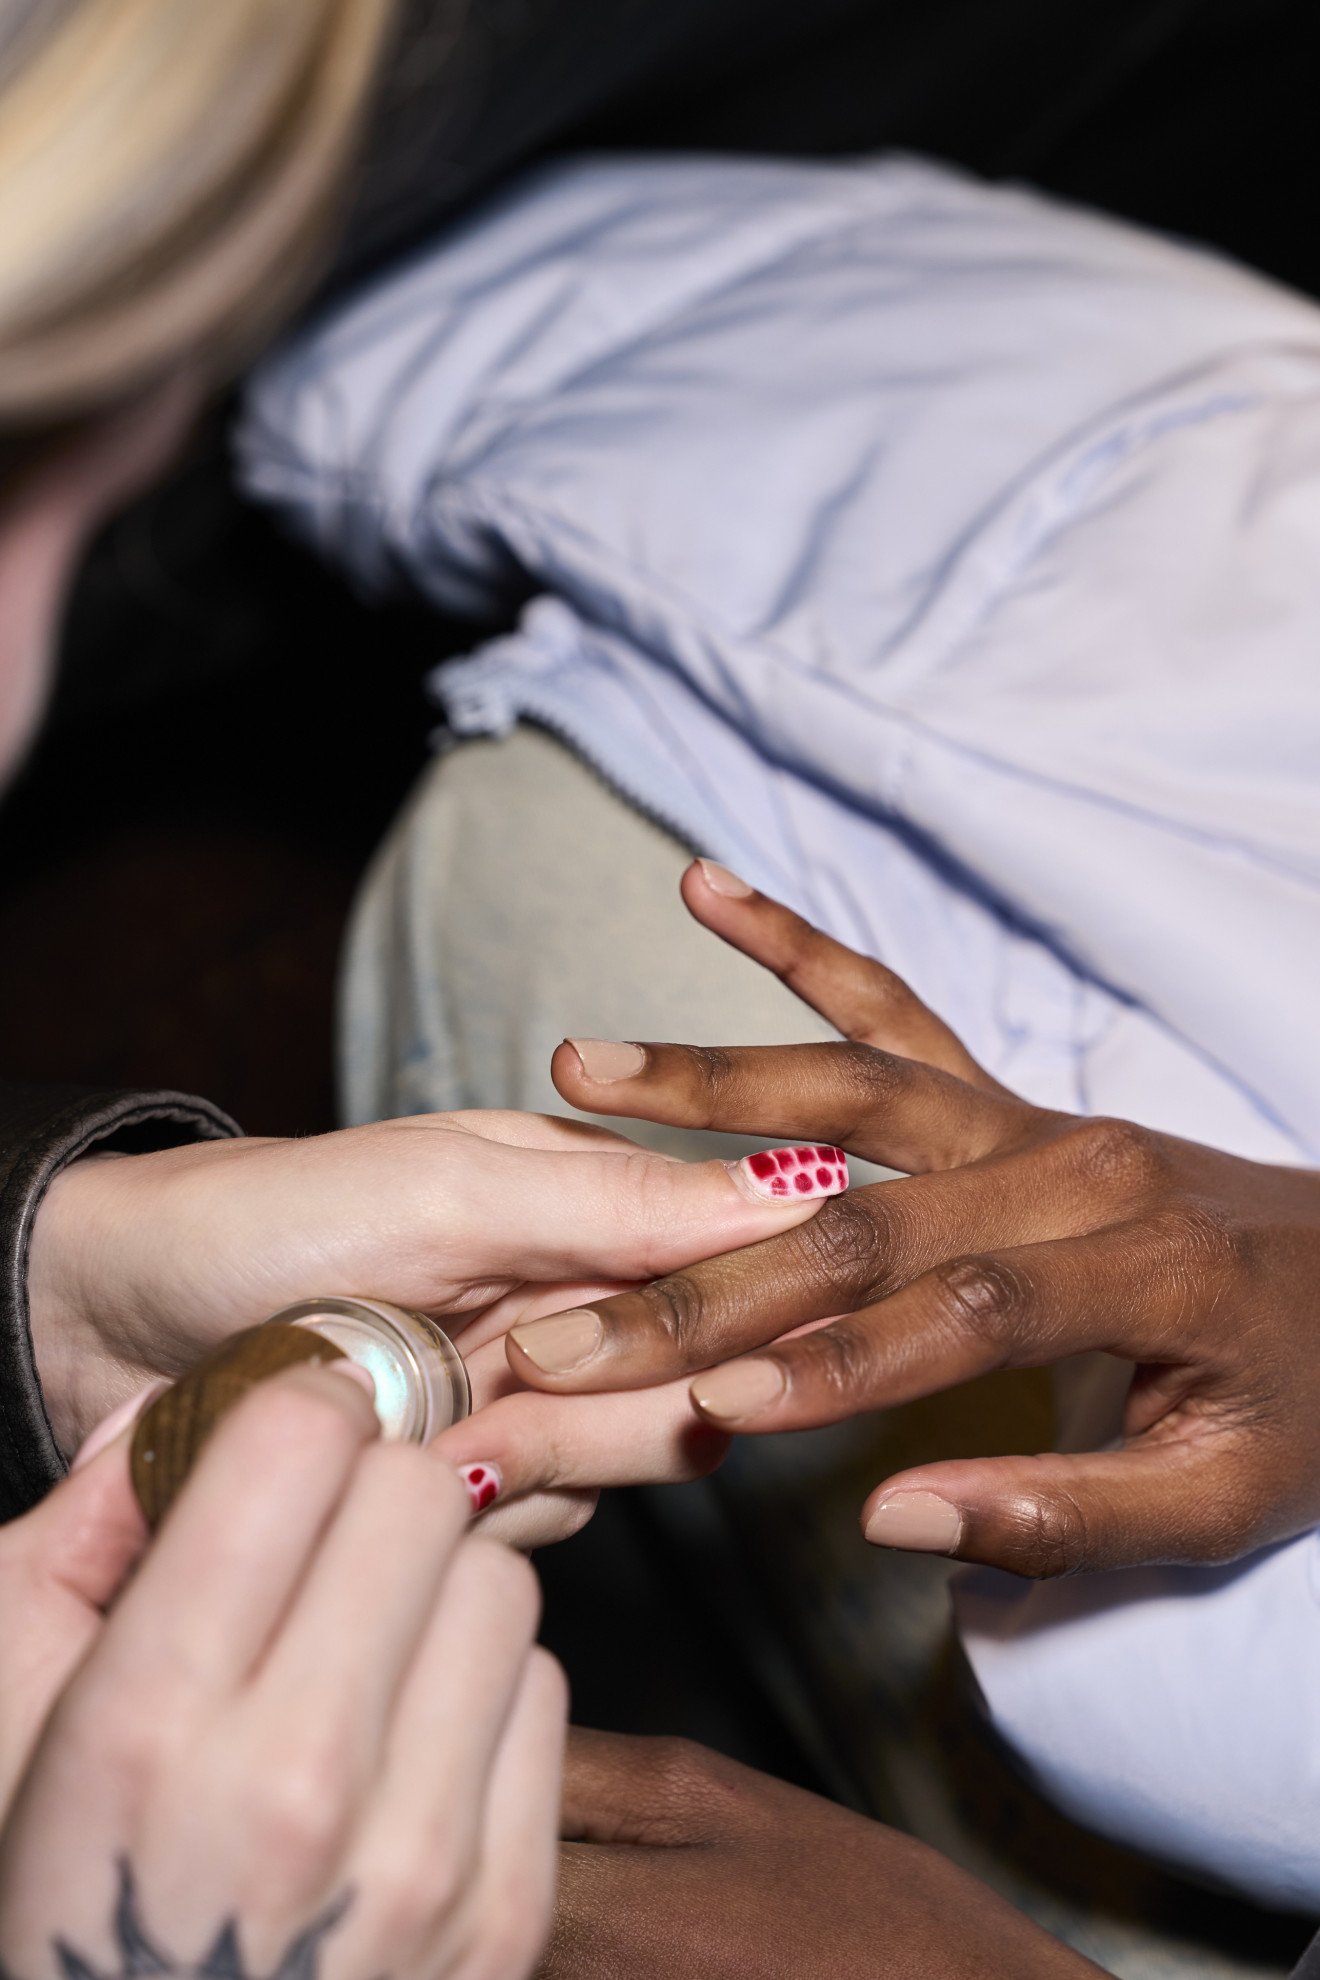
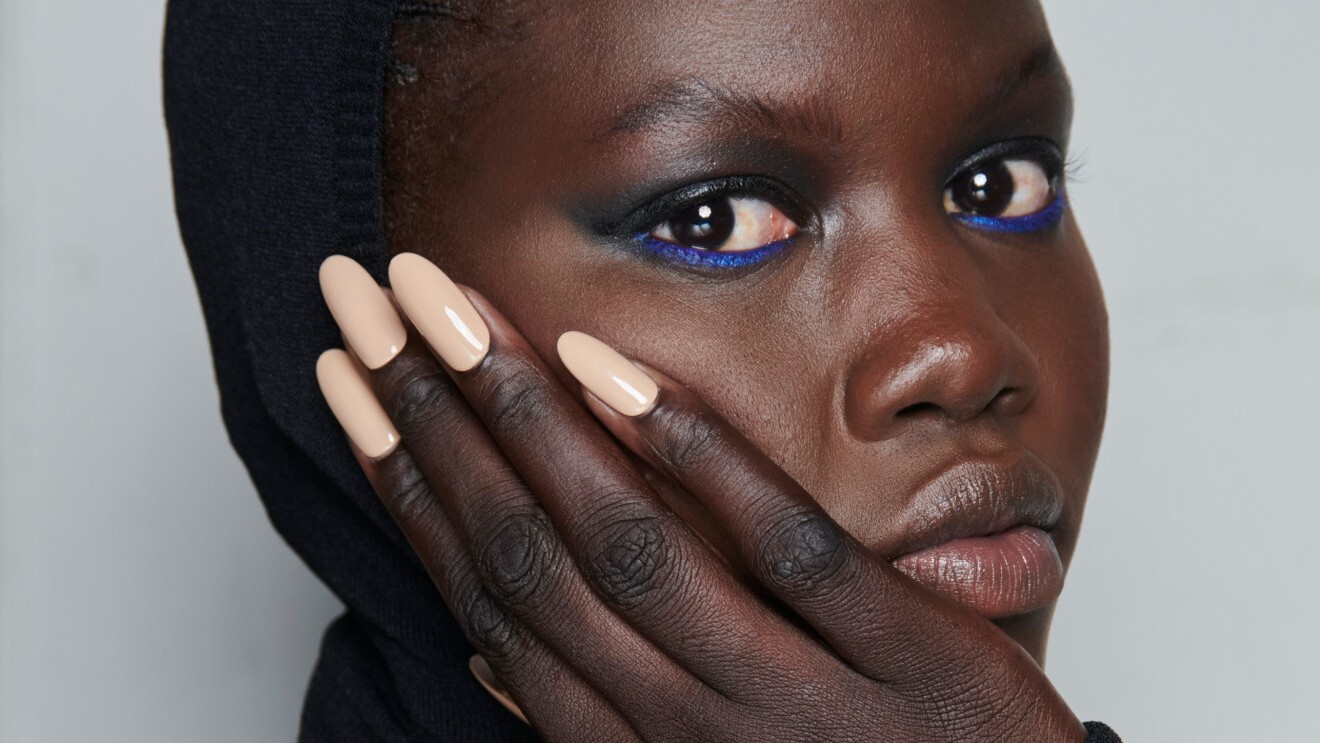
A model getting her natural nails painted at the Cucculelli F24 show.
How to Care for Nails After Acrylic Removal
If you want healthy nails, the removal process doesn't end after your acrylics are off.
"After removing acrylics, it is important to keep the skin and nails healthy by applying cuticle oil and hand cream daily," explains Juanita Huber-Millet, Founder and Creative Director at Townhouse, the beloved U.K. salon that just opened up its first American location in Los Angeles. "By nurturing your cuticles, you support the health of your nails as they grow. For added strength, consider incorporating an IBX treatment at the salon, which is a natural and high-quality strengthening application that has personally transformed my nails."
Should You Take a Break Between Acrylic Nail Sets?
While there isn’t a requirement to give your nails a break between acrylic sets, it certainly won't hurt to let them rest every now and again. In fact, it'll even help you avoid yellowing or damage.
And if you're already noticing some damage? "Then you should definitely pause the acrylic sets until your nails are healthy again," Nguyen says.
Meet the Experts

Syreeta Aaron is Alabama-based and a LeChat Nails Educator. Syreeta's passion for nail art began as early as five years old. As a young child, she would stick tape on her nails and pretend she had long nails and polish them. Since then, her love affair for nails blossomed into a professional nail tech career of 17 years. When she became an educator in 2017, Syreeta found she was able to combine technical skills, creating artistic nail designs and traveling into one career in an industry that she loves the most.

For Julie Kandalec, nail care is far beyond just polish. Always the artist, she is also trained in painting, drawing, color, and dance. Known for her gentle touch, calm demeanor, and precise attention to detail, Julie's specialties vary from a clean, natural nail to elaborate, custom-designed nails. Julie's work can now be seen in major publications, beauty campaigns, and regularly on the fingertips of Jessica Chastain, Emily Blunt, Rose Byrne, and many more.

Juanita Huber-Millet launched Townhouse with one goal: to elevate the nail salon experience. Townhouse has thrown away the rulebook and reinvented it for the modern age, using years of industry research to perfect every aspect from start to finish. Say hello to flawless treatments, beautiful salons, and impeccable service that you can rely on every time.
Vanessa Sanchez McCullough is an Los Angeles-based manicurist, former CND educator, and lover of all things nails and style.

Coming to the scene as a self-taught lash artist in 2008, Michelle Nguyen knew how difficult it could be to truly break into the beauty industry. After running her salon for six years in Reno, Michelle ultimately decided to sell it to focus on Paris Lash Academy, as a way to share her vast lashing experience with lash artists all around the world.
For the last fourteen years Michelle has practiced and studied eyelash science. Calling it a science may seem simplistic, but by studying the discipline and knowledge associated with eyelash care, Michelle has been able to elevate her expertise, bringing lashing to a new and higher level.
Chelsea Hall is the former Assistant Fashion and Beauty Editor at Marie Claire, where she covered celebrity style, fashion trends, skincare, makeup and anything else tied into the world of fashion and beauty
-
 Let's Go, PPG, Fans! A New Peacock Series Starring the 'Love Island USA' Season 6 Cast Is Coming Soon
We're already clearing our summer schedules for 'Love Island: Beyond the Villa.'
By Quinci LeGardye
-
 Why Princess Diana Didn't Move to America
The late royal's friend opened up about the princess's American dream.
By Kristin Contino
-
 Anne Hathaway Doubles Down on Luxury's Favorite Neutral
She painted herself in the timeless hue.
By Kelsey Stiegman
-
 Fiery Red Nails Are Ashley Graham's Secret to a Glowing Tan
Warm weather glam, nailed.
By Ariel Baker
-
 Square Nail Manicures Are Synonymous With Old Money—I Don't Make the Rules
This retro trend has received a high-brow makeover.
By Ariel Baker
-
 The Viral Blue Nail Theory Needs to Take a Seat
Let a beauty girl live, please and thank you.
By Hannah Baxter
-
 Everything You Need to Know About Marie Claire’s Skin and Hair Awards
Could your brand survive an editor testing session?
By Ariel Baker
-
 Rihanna’s Jamaica Manicure Will Unite the Caribbean
The entrepreneur has extended Fenty Beauty’s reach in the Caribbean and she got a new manicure to celebrate.
By Ariel Baker
-
 Eva Longoria’s Bronze French Manicure Makes Me Want Metallic Nails
Blink and you'll miss it.
By Ariel Baker
-
 Patina Miller’s Stiletto French Manicure Needs No Introduction
It's also easier to DIY than you think.
By Ariel Baker
-
 Jenna Ortega’s New Burgundy Hair Has Me Ready for Season 2 of 'Wednesday'
Wednesday Addams, is that you?
By Ariel Baker
