Give Yourself the Best Manicure At Home With These Expert Tips
Manicurists share a step-by-step guide.
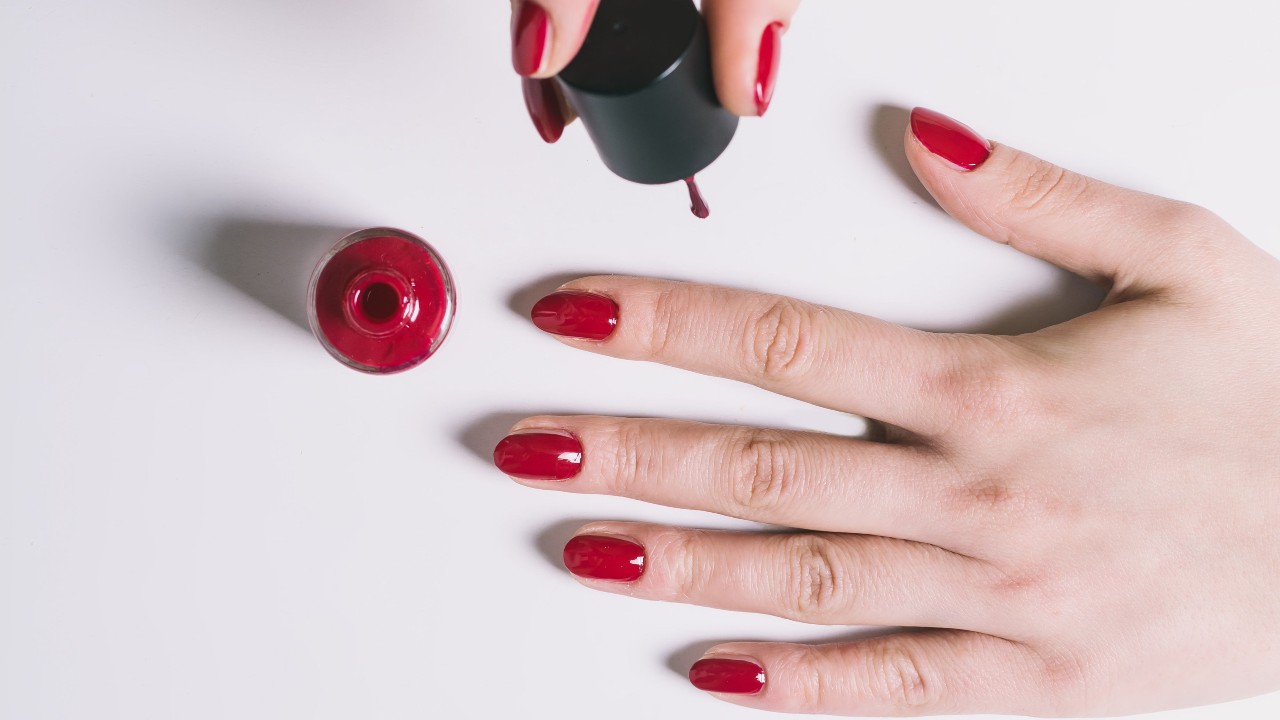

The at-home manicure used to be a myth, like yetis or bleaching your hair at home and having it look good. But since we're all spending a lot more time indoors, some of those can't-do items, like giving yourself the perfect salon-grade manicure, DIYing a homemade face mask, and even tinting your own brows, are starting to become doable...and fun.
And we're not just talking about your standard clean-and-polish (although we definitely have been lusting over the spring nail polishes to covet this season). Gel manicures, Kylie Jenner-esque length, nail art, and healthy cuticles are all within reach. You just need to have the inspo, tools, guidance, and patience to pull off a manicure you'll actually want to show off.
If you, like me, have found yourself looking down at the war zone of your peeled-off gel manicure, it might be time to learn how to give yourself a salon-worthy manicure from the comfort of your couch. Nail experts (who would cringe if they saw my nail beds) have let us in on their best tips and tricks for getting a 'gram-worthy manicure.
How to Prep Your Nails
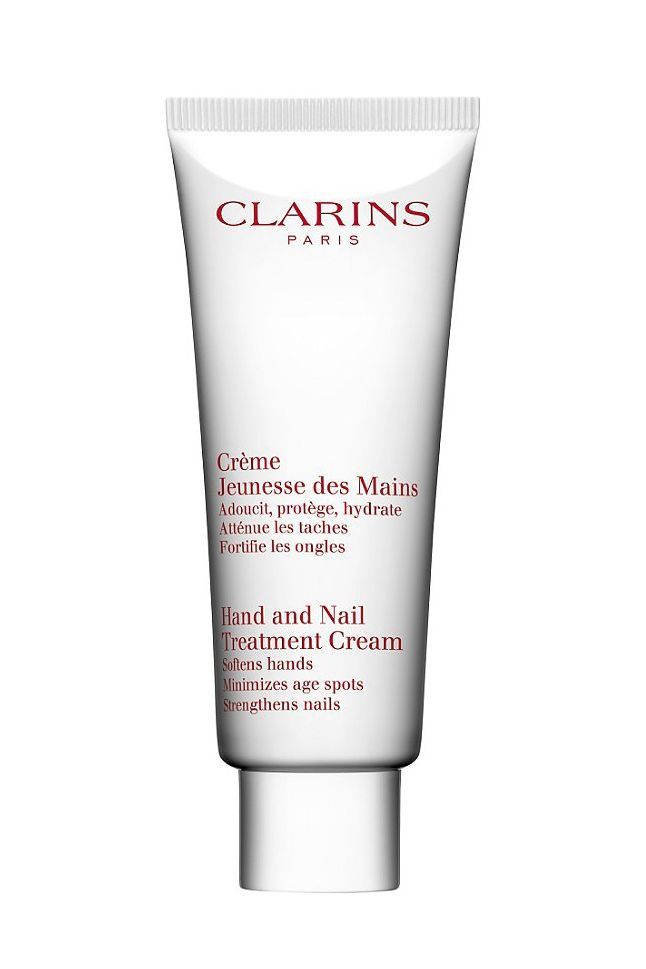
Just like the perfect hair day will evade you if you aren't taking care of your locks, your nails and cuticles need some TLC so that your burgeoning hand-modeling career can really take off. Brittney Boyce, nail specialist and nail art consultant to ORLY, recommends starting with clean hands. "Always start with clean hands—so, before you start, wash your hands and moisturize them. But do not soak your nails, as soaking your nails before a manicure actually shortens the wear of your manicure."
The Tools You Need
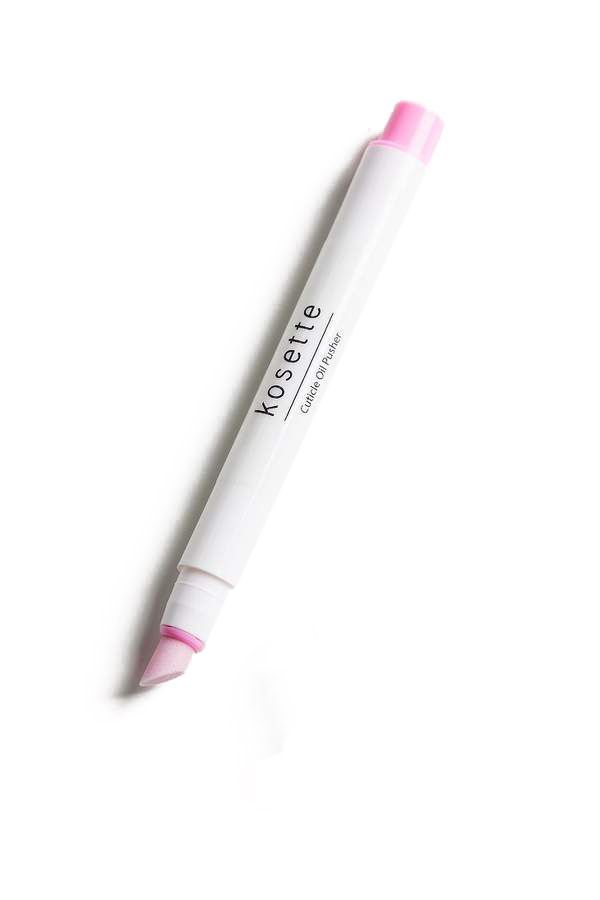
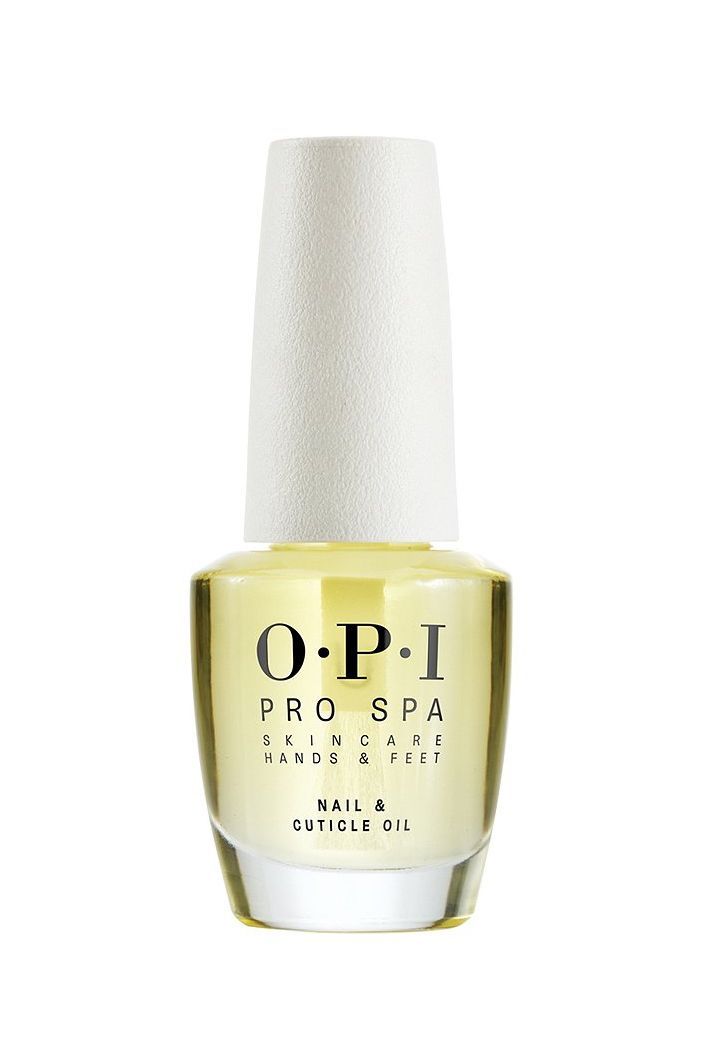
The beginning of a truly great faux-salon experience doesn't begin at polish. Madeline Poole, nail extraordinaire who recently launched a collab with ManiMe, finds that at-home manicures are a lot less daunting than you might think. Find a cuticle oil that you love and apply before you begin, so that by the time you get to shaping and painting your nails, you have a healthy, moisturized base. Poole finds that even at-home items can work: "To push the cuticles back I love a gel cuticle remover but alternatively you can use an oil, (coconut oil or olive oil both work) if you don't have cuticle oil handy!"
A post shared by NAILS OF LA (@nails_of_la)
A photo posted by on
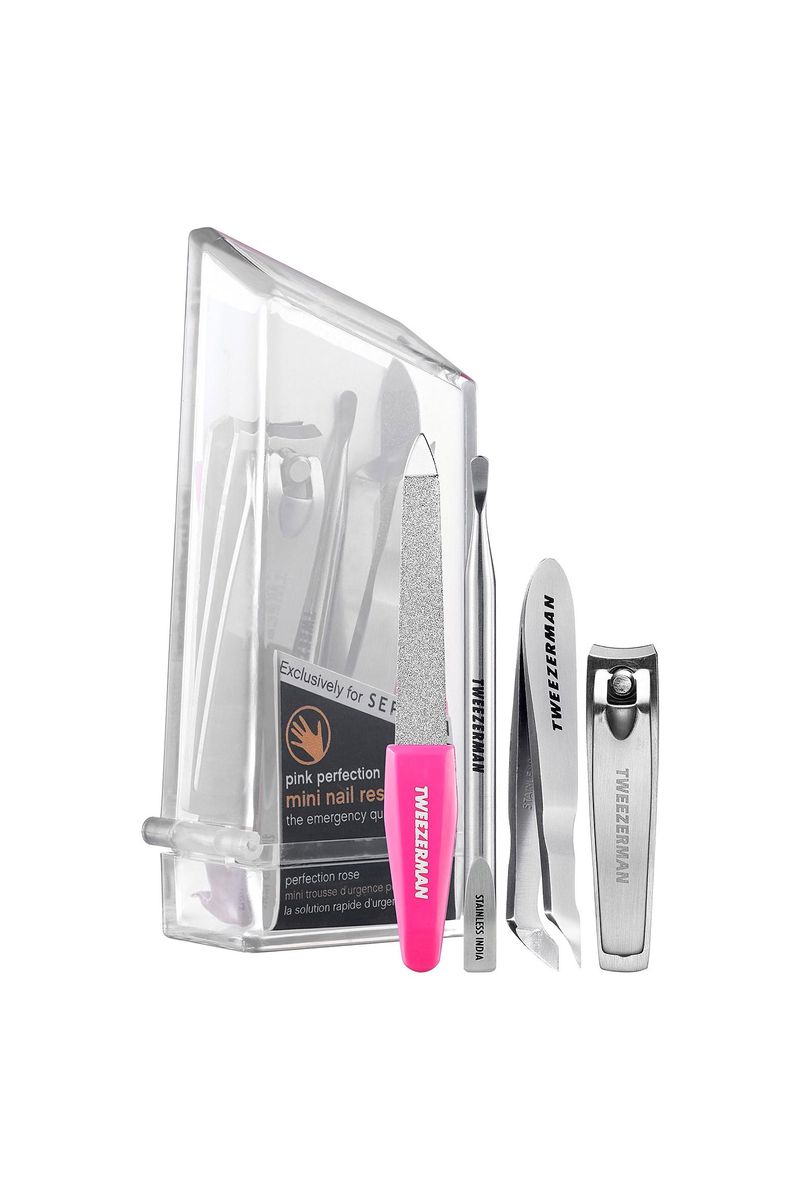
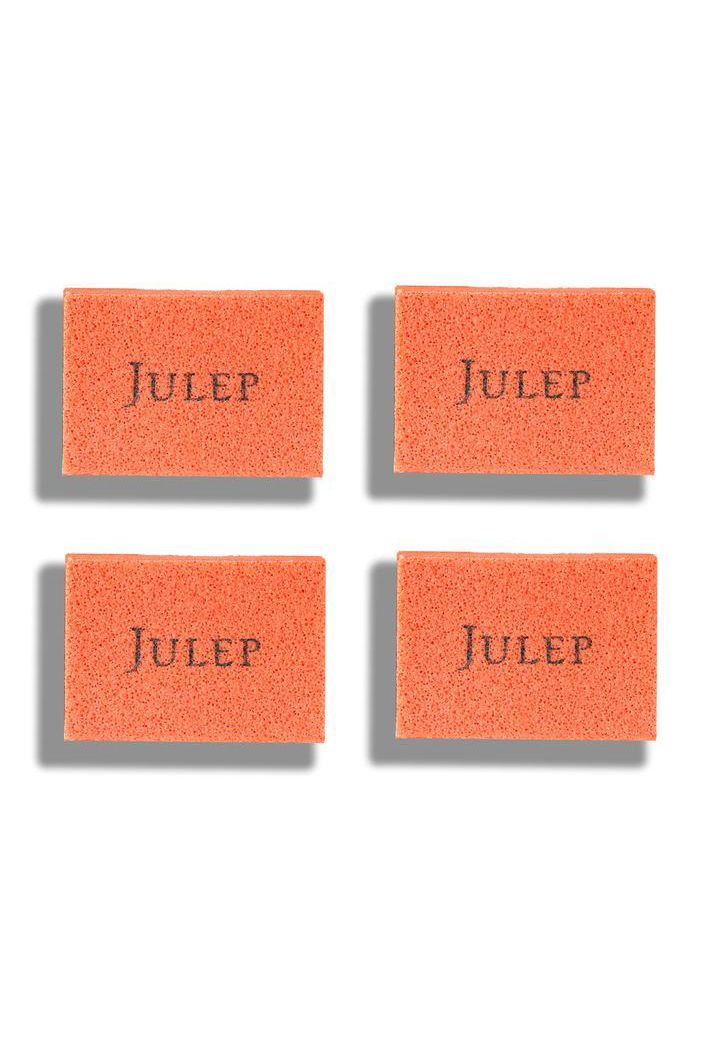
The next essential step in achieving your Instagram-worthy nails is having tools that do everything they promise. For any great nail look, you'll need clippers, a good nail file, and a cuticle pusher. Poole also recommends finding a buffing block to even out the surface of the nail. The great news is that you can often buy these essentials in a kit together, so you don't have to worry about forgetting one.
The Nail Polish to Look For
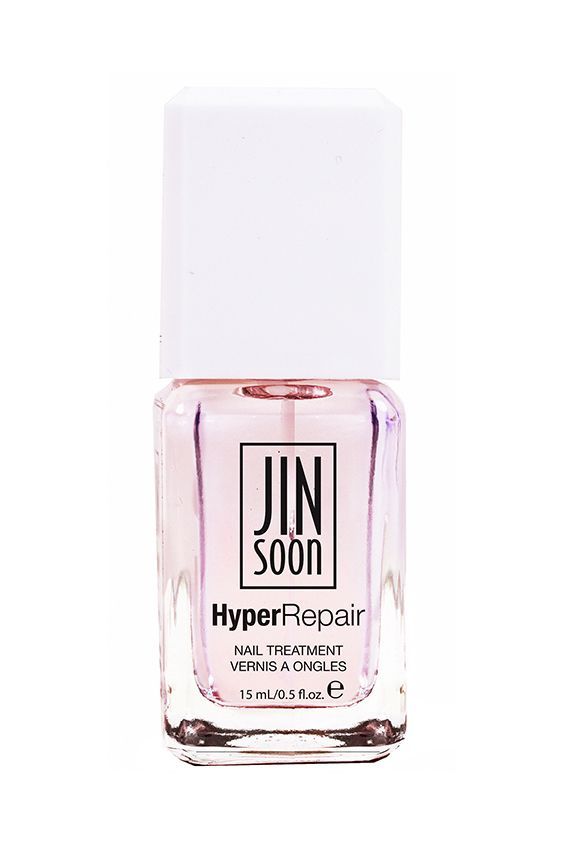
Finally, if you're opting for standard nail polish, find one that you love and that doesn't use harsh chemicals that could potentially cause damage. Poole's hot tip? "The longer you can wait between coats, the better." And don't skip your base coat! Boyce says that it helps "nail polish adhere better and last longer. Plus for darker shades, it helps prevent nail colors from sticking."
Get exclusive access to fashion and beauty trends, hot-off-the-press celebrity news, and more.
Shop the Best Nail Basics
How to Give Yourself the Perfect Manicure
With your nails healthy and shaped with tip-top tools, the real fun can begin. Gel manicures and extended tips might seem like something that only experts can whip up, but with the right products and the proper application, you can do it too.
A Gel Manicure
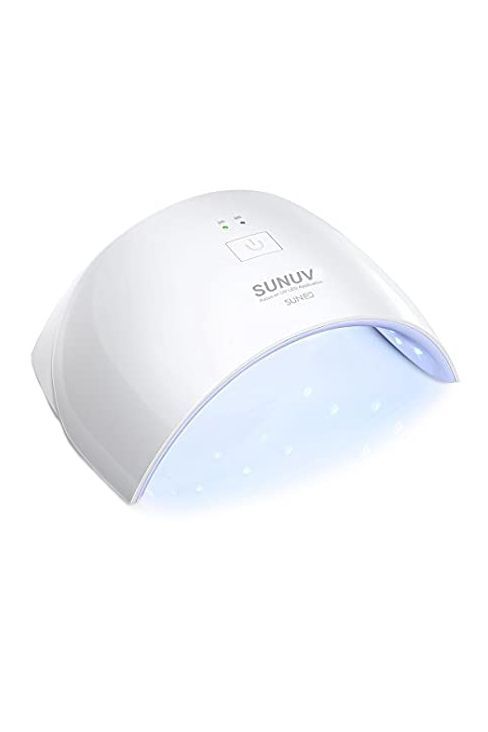
A lot of the items you might see your manicurist use when they're giving you gel nails are available for private purchase as well. The standard items you'll need to pull this look off at home are gel base and top coats, a gel nail color, and an LED nail lamp. It might look daunting, but in reality, gel nails are easy to do with the proper equipment. Follow these simple steps:
- After prepping your nails, apply a very thin layer of a gel base coat. Cure under your nail lamp for 2 minutes.
- Apply your color gel polish, also in very thin layers. Cure under your nail lamp for 2 minutes. Repeat this step until you've reached your desired shade.
- Finally, apply your gel top coat. Cure it for 2 minutes.
- Voila! You're done!
A Stick-On Manicure
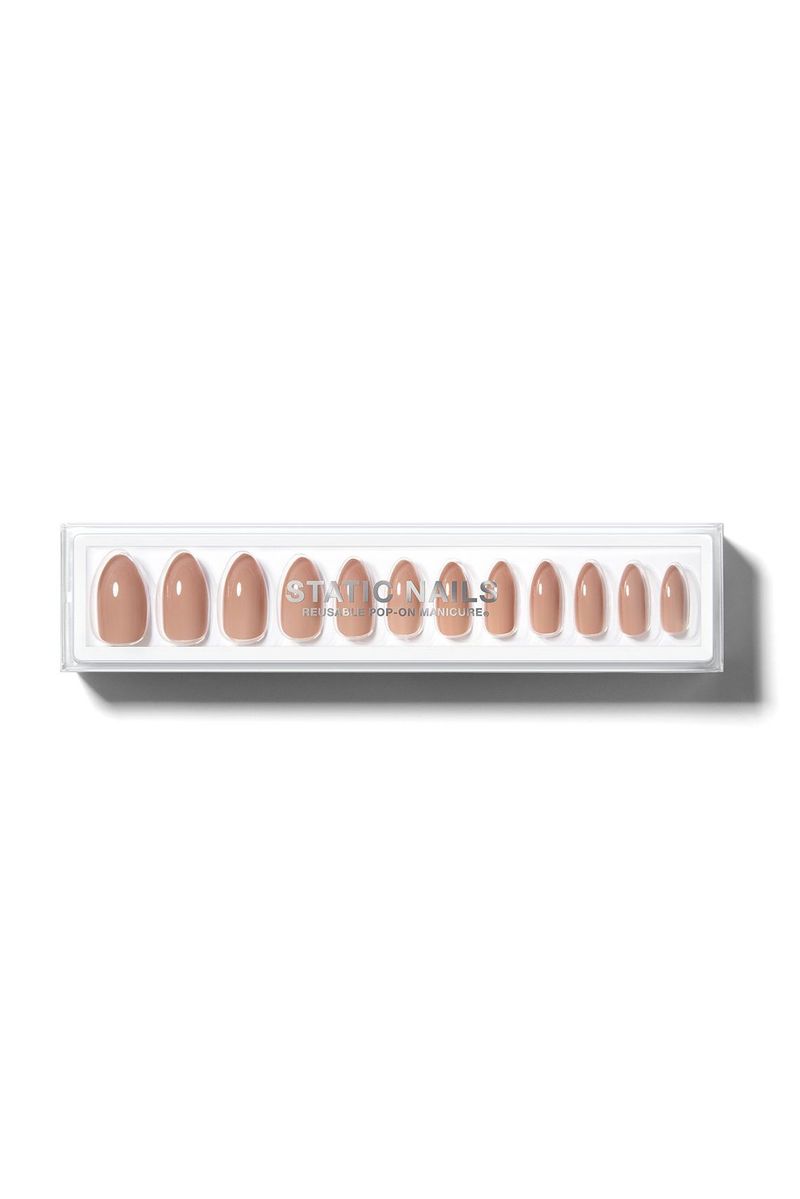
If you're less confident using electronic tools or even just painting your nails without making a mess then stick-on nails might be perfect for you. Forgo any preconceived early-2000s notions on what this might entail—in the last few years, press-ons have reached new innovative and aesthetic heights. ManiMe offers state-of-the-art gel stick-on nails that are customized to your specific nail size and ship to your door along with all the tools you need to apply them. Instead of thinking about your middle school days of applying neon-colored nails in the bathroom only to have them snap off unceremoniously by lunchtime, think of chic packaging, easy application, and achievable nail goals. (I even tried some myself: The Static Nails x Urban Outfitters set is the pinnacle of classy, and they're easy to pop on yourself.)
A Nail Art Manicure
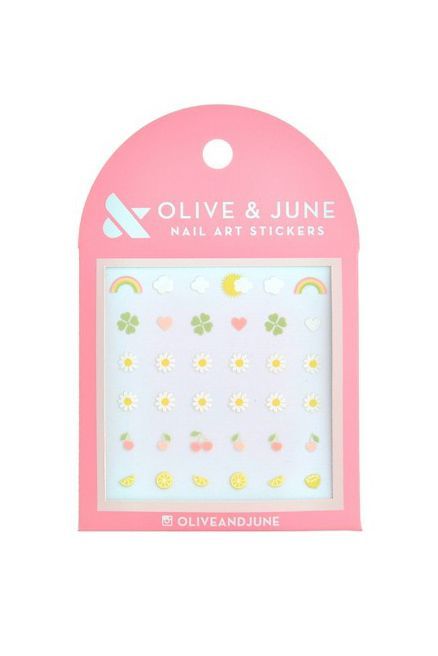
Since not everyone is a fan of painted designs, consider trying fun nail stickers. If you're stuck inside with a little one, they'll have a blast putting them on you (and maybe you'll share with them!). The end result is fun, creative designs that you can play around with, and change when you get bored.
Try These Salon-Grade Products
How To Remove Your Manicure
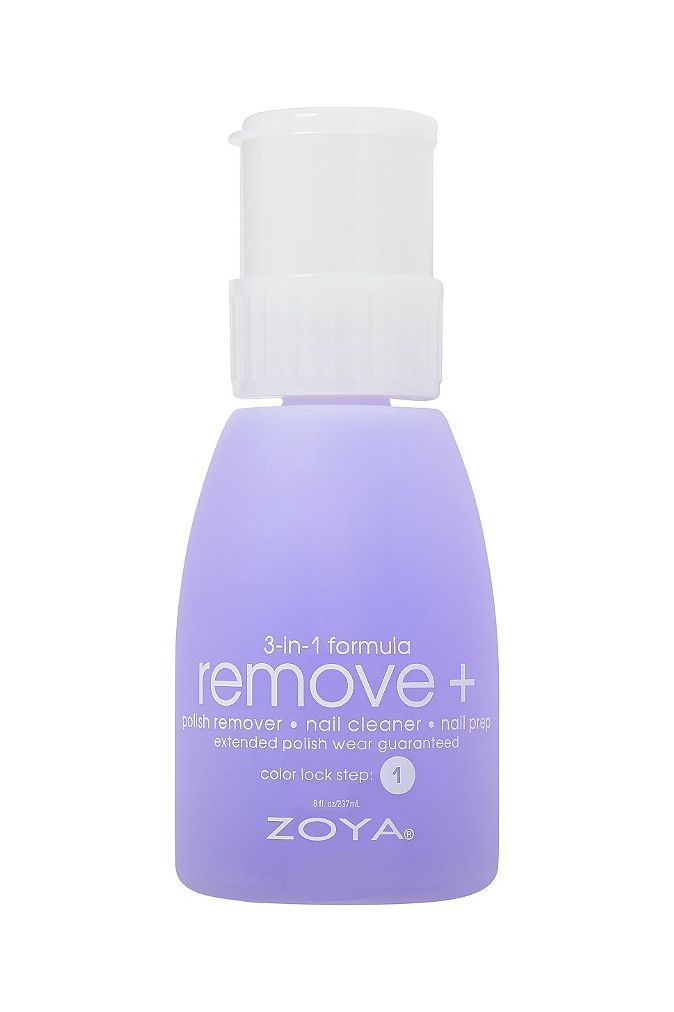
If you've gone for a simple manicure, this should be easy. Press-ons and standard nail polish can be removed with warm water and your run-of-the-mill nail polish remover, at-home gel nail removal is slightly more complex. It might be tempting to opt for the satisfying peel, but I've learned through copious experience that this will only leave you with damaged, weak nails going forward.
Taking Off Gel Nails At Home
OPI's North America Education Manager, Sigourney Nunez, has a 6-step guide for gel-nail removal that will help get you clean, healthy nails that are ready for their next adventure:
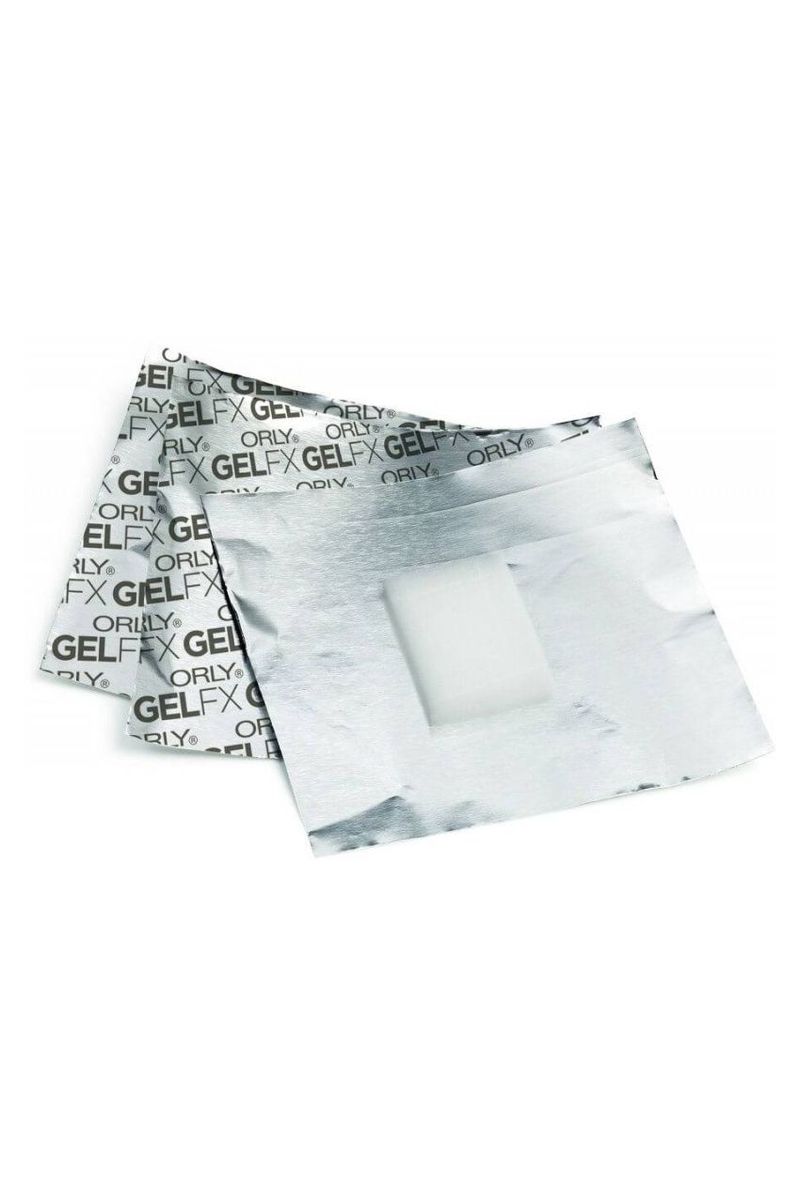
- Cut foil into small squares that will fit around the tip of your finger
- Cut cotton pad/ cotton ball into pieces that are big enough to cover the entire nail
- “Break the Seal” – remove the top layer of the gel polish with the nail file using light pressure. Start with the tip of the nail, then file the top of the nail. Use the manicuring brush to wipe off excess dust
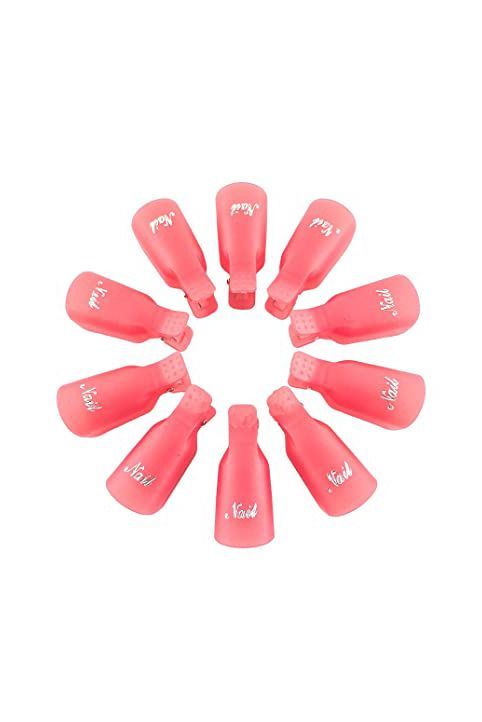
- Soak the cotton pad in remover. Place the cotton on the entire nail. Wrap the tip of the finger with cotton pad in foil, and fold over the tip to lock in place. Repeat on all fingers, leave on for 15-20 minutes.
- To remove – rub back and forth gently and pull off. Take off any excess polish by gently scraping with the cuticle stick. Wipe away any residue with alcohol and a cotton ball or cotton pad.
- Finish by applying cuticle oil to bring moisture back to cuticles.
Shop the Best Gel Removal Products
Supporting Your Local Salon
A word to the wise, in these trying times: As exciting as it is to learn a new skill, it's also important to support businesses that are having a hard time and that might have to close their doors permanently. If you can, consider buying gift cards to your local nail spa, so that these businesses and their employees can wait out the storm and be there for you in the future. Until that happens, enjoy your at-home experience and emerge an expert!
For more stories like this, including celebrity news, beauty and fashion advice, savvy political commentary, and fascinating features, sign up for the Marie Claire newsletter.
Related Stories

Tatjana Freund is a Beauty Commerce Writer, covering makeup, skincare, and haircare products and trends. She's a fan of vodka tonics and creepy Wikipedia pages.
